Missing a tooth can feel like losing a game of hide and seek—except the only thing hiding is your confidence. But fear not! Crafting a dental flipper at home might just be the DIY project you didn’t know you needed. Imagine flashing that winning smile without breaking the bank or waiting for an appointment that feels like it’s scheduled in dog years.
Table of Contents
ToggleOverview of Dental Flippers
Dental flippers serve as temporary tooth replacements. They help restore smiles and improve functionality after tooth loss. Designed to be lightweight and comfortable, flippers attach to existing teeth or gums. Patients often prefer them for a cost-effective solution when waiting for permanent restorations.
These devices can replace single or multiple missing teeth. Materials used typically include acrylic, which offers a natural appearance. Custom-fit flippers can enhance comfort, but store-bought options may also suffice for short term use.
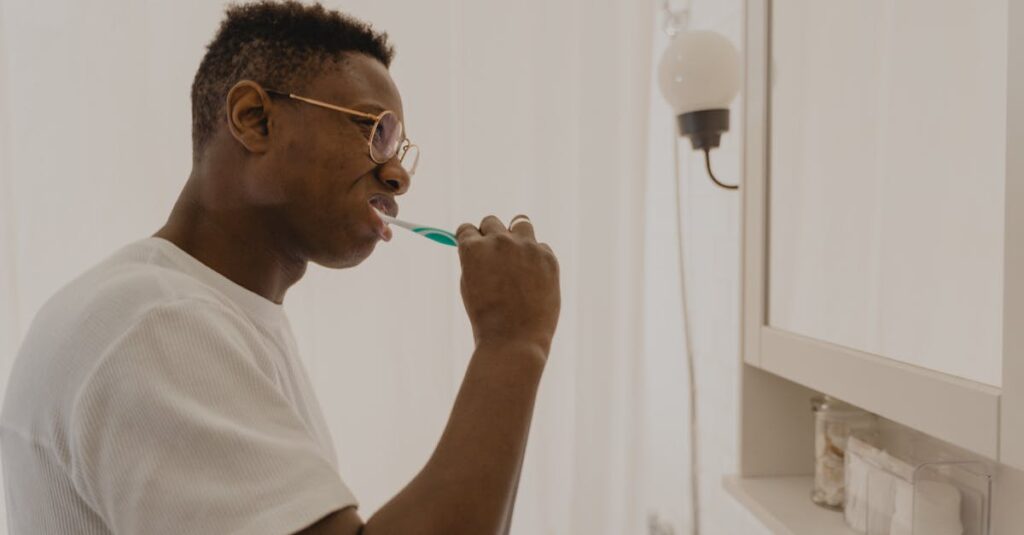
Patients should consider the importance of proper care. Cleaning flippers regularly contributes to maintaining oral hygiene. Soaking them in denture cleaner can help eliminate bacteria and keep them fresh. For best results, individuals often need to follow specific guidelines from dental professionals.
Benefits of dental flippers include ease of use and quick adjustments. Those with gaps can experience improved speech and confidence. Adaptation to a flipper may take time, but many find it surprisingly manageable.
Choosing to create a dental flipper at home can provide flexibility and affordability. However, individuals should weigh the DIY approach against potential risks. Achieving a comfortable fit at home may require patience and additional adjustments. Consulting a dental professional remains advisable, even in DIY situations, to prevent complications or discomfort.
Materials Needed
Creating a dental flipper at home requires specific tools and materials to achieve a functional and comfortable result. Gather the following essentials to get started.
Essential Tools
- Scissors
- Dental wax
- Mixing bowl
- Acrylic resin
- Measuring spoon
- Brush for application
- Gloves
Required Materials
- Dental putty
- Acrylic sheets
- Denture adhesive
- Fine-grit sandpaper
- Cold water
- Heat source
- Storage container
Collecting these tools and materials sets the foundation for successfully crafting a dental flipper, improving efficiency during the DIY process.
Step-by-Step Guide
Creating a dental flipper at home involves several essential steps that ensure a comfortable and effective fit.
Preparing the Molding
Start by gathering all necessary materials, such as dental wax and molding material. Shape the dental wax to fit your mouth comfortably over the area where the tooth is missing. Once the wax is shaped, mix the molding compound according to the package instructions. Insert the wax into your mouth and gently bite down, allowing it to take the shape of your teeth and gums. After 2 to 3 minutes, carefully remove the molding from your mouth, ensuring the impression is intact for further steps.
Creating the Flipper
Next, gather the acrylic resin and dental putty. Following manufacturer instructions, mix the acrylic resin until it’s fully blended. Pour the resin into the molded impression, filling it evenly. Use a small spatula to smooth the surface of the resin, creating a natural shape. After allowing it to set for the recommended time, carefully remove the flipper from the mold. Trim any excess material with scissors to achieve the desired shape and fit. When finished, the flipper should mimic the appearance of natural teeth.
Final Adjustments
Make necessary adjustments to ensure the flipper fits comfortably. First, try wearing the flipper for short periods to assess comfort and function. If it feels tight or causes irritation, use dental wax to pad any rough areas. Additionally, check the alignment with your existing teeth; slight adjustments might be needed for a perfect fit. Soaking the flipper in warm water or denture cleaner can help soften it for minor modifications. Once finalized, regular cleaning will maintain both hygiene and durability.
Tips for Successful Flipper Making
Crafting a dental flipper can be rewarding, but certain tips can enhance the process and outcome.
Ensuring Comfort
Achieving a comfortable fit is crucial for effective use. Start by using an appropriate amount of dental wax during the mold preparation. This step helps capture the shape of the mouth accurately. Adjust the flipper’s thickness as needed, ensuring it doesn’t irritate the gums or existing teeth. Testing the fit throughout the crafting process allows for necessary tweaks. After making a flipper, wear it for short periods initially to gauge comfort levels. Avoid putting undue pressure on sensitive areas to prevent discomfort.
Maintaining Your Flipper
Regular maintenance of a dental flipper enhances its lifespan and hygiene. Clean the flipper daily with a soft-bristle toothbrush and non-abrasive toothpaste. This practice removes surface debris and prevents bacteria buildup. Soaking the flipper in a denture cleaner once a week eliminates deeper stains and odors. Additionally, inspect the flipper regularly for any signs of wear or damage. Addressing issues promptly ensures ongoing comfort and functionality. Storing the flipper in a protective case when not in use keeps it safe from damage and contamination.
Creating a dental flipper at home can be a practical and empowering solution for those experiencing tooth loss. This DIY approach not only saves money but also offers the flexibility to achieve a personalized fit. With the right materials and careful attention to detail, individuals can restore their smiles and regain confidence.
It’s essential to prioritize comfort and hygiene throughout the process. Regular maintenance will ensure the flipper remains in good condition and serves its purpose effectively. While this project can be rewarding, consulting with a dental professional is always a wise choice to avoid complications. Embracing this journey can lead to a renewed sense of self and improved quality of life.